
OpenVPN Client – Ubiquity USG Install
This article is part of a series of articles on how to configure and use OpenVPN on Ubiquity’s Dream Machine platform. For those who are not yet familiar with OpenVPN, it is a VPN technology that was developed to maintain privacy and security by two individuals that lived in a dictatorial country where lack of security could mean incarceration or death. If you are interested in reading more about the origins of the technology, please visit https://openvpn.net/blog/the-history-of-openvpn/
In this article, we cover how to install the OpenVPN client, configure it to connect to your network.
Step 1:
Download the OpenVPN client from OpenVPN Connect – Client Software For Windows | OpenVPN and install it. You can choose between clients designed for Windows, Mac OS or Linux clients. In this article we will use the windows client.
Step 2:
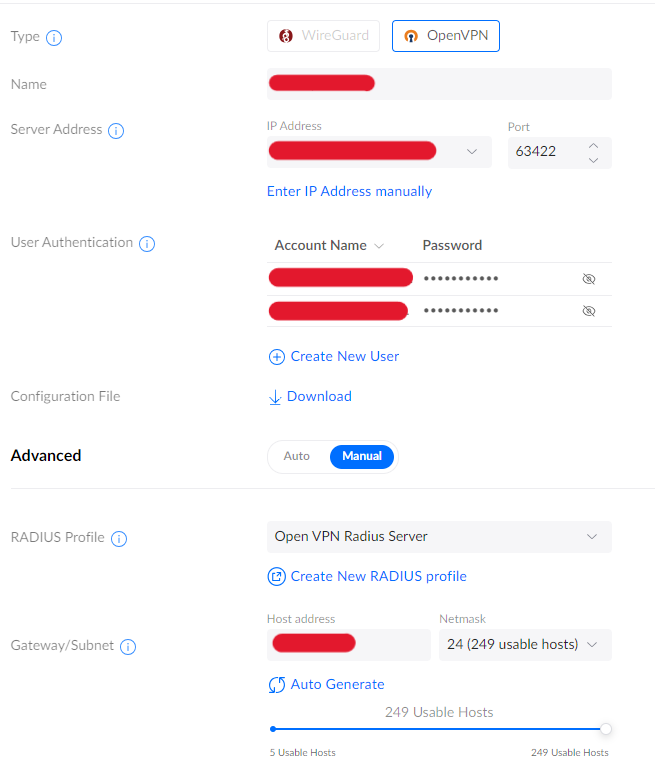
During configuration of OpenVPN on your dream machine, you will be able to download all the information to configure a client connection from the VPN server page. The screen grab below shows a pre-configured OpenVPN server. Download the configuration file from the VPN Server page located in Settings -> Teleport & VPN -> VPN Server list
Step 3:
Once you have downloaded the configuration file (it contains the ip address, port, shared secret etc). Import the file into OpenVPN client. See the screen grab below:
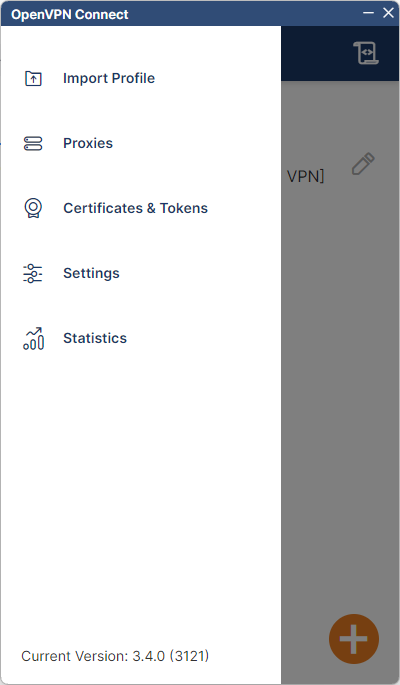
Step 4:
Once the profile is imported, you will need to make some changes to the OpenVPN client settings to allow it to connect to the Windows network. In this example, we have used a Windows 2016 server to provide authentication. Support for various encryption mechanism requires change to the type of security used by the client. So go to Menu -> Settings and under advanced settings change the security level to Legacy as shown in the picture below
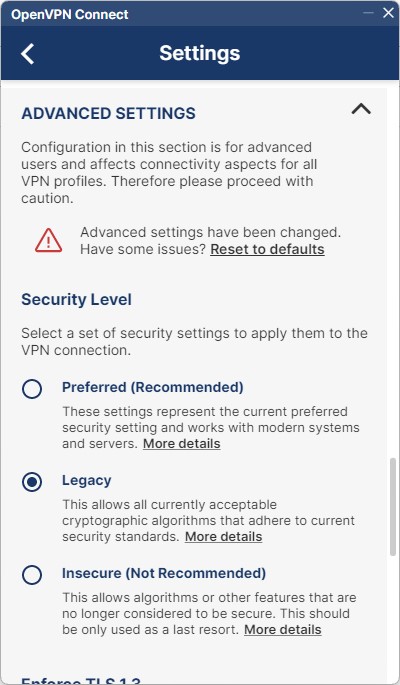
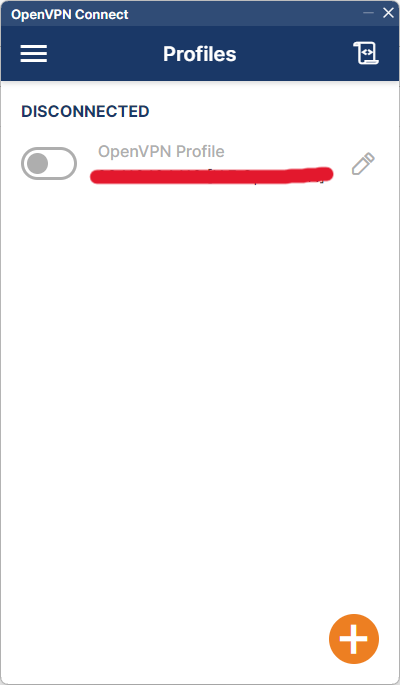
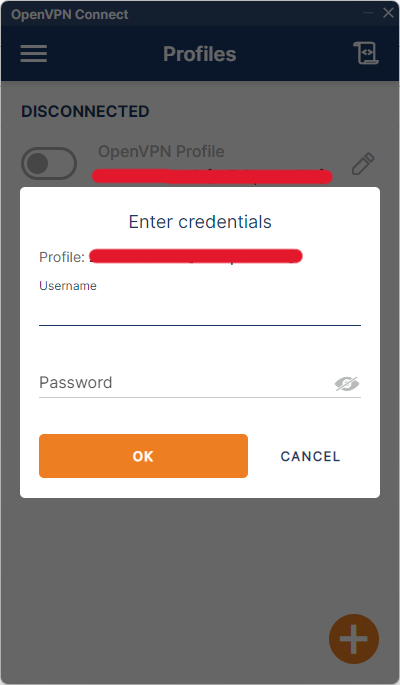
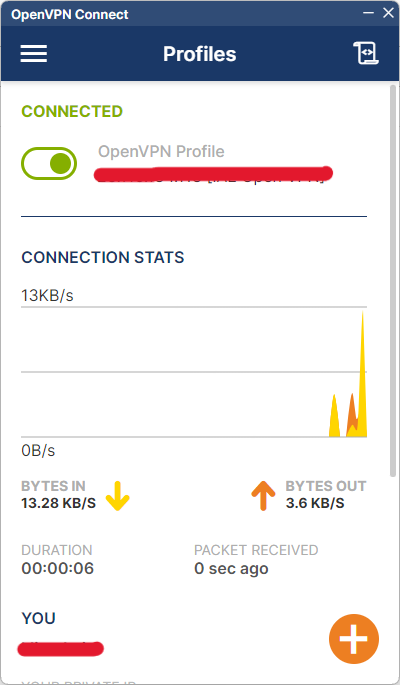
Step 5:
Now that you have imported the profile and configured the security level, its time to attempt to login. Click on the switch next to the profile, then enter your windows credentials and viola! You will be connected to your network. The IP Address and routing will depend on your configuration.